
If you are ready to publish a new version of an iOS app that’s currently in the App Store, then you should read this guide. It walk you through the entire process of updating the iTunes Connect record to submitting a new version of your iOS app to the App Store. By the way, the process of submitting a new version of your iOS app to the App Store is similar to submitting the first version and, it goes through the same review process as the first version.
Before you begin, you’ll have to do the following.
✓ Capture new screenshots of the app’s screens that have changed. You’ll upload them in iTunes Connect.
✓ Capture a new screenshot of the first screen of your app. As you already know it serve as a launch Image. Do this only if you’ve modified the first screen’s user interface. Don’t forget to replace the launch image or images in your Xcode project.
✓ Create a new QuickTime video that showcase new features of your iOS app.
✓ Replace the existing QuickTime video with the new one your site.
✓ Update the support page you created for your app.
Update the iTunes Connect record
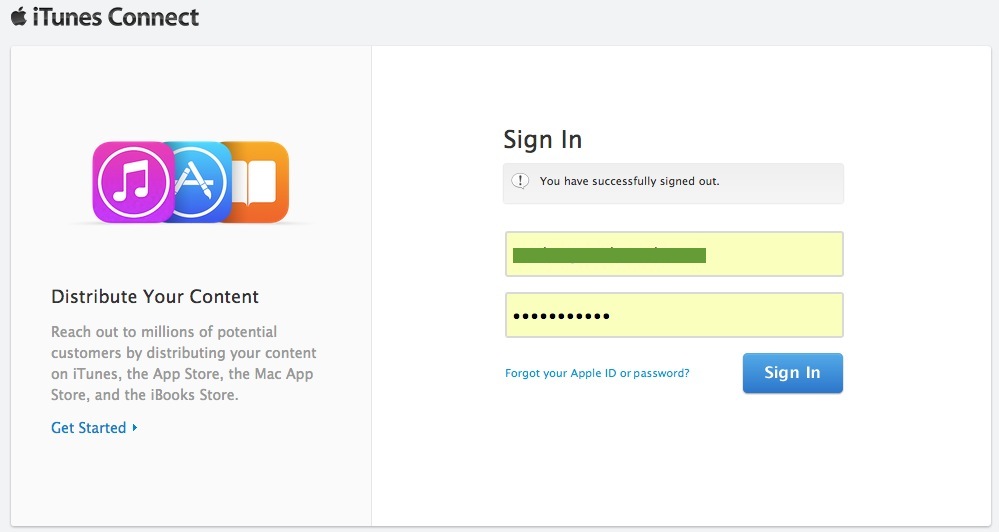
![]() The first thing you have to do is update the iTunes Connect record. So sign in to the iTunes Connect portal.
The first thing you have to do is update the iTunes Connect record. So sign in to the iTunes Connect portal.
![]() On the portal’s homepage, click Manage Your Apps.
On the portal’s homepage, click Manage Your Apps.

![]() Click your app icon in the Recent Activity section.
Click your app icon in the Recent Activity section.

![]() On the Versions section of the App Summary page, click Add Version.
On the Versions section of the App Summary page, click Add Version.

![]() On the Add Version page, enter the new version number of your app and fill in the What’s New in this Version field. If the previous version of the app has localized metadata, the page will presents sections to include the What’s New information for each of the currently supported languages.
On the Add Version page, enter the new version number of your app and fill in the What’s New in this Version field. If the previous version of the app has localized metadata, the page will presents sections to include the What’s New information for each of the currently supported languages.

![]() Click Save and you will see the new Version Details page. It shows you the information you just entered, information from the previous version, and a blue Ready to Upload Binary button. Review and edit the following sections, as needed.
Click Save and you will see the new Version Details page. It shows you the information you just entered, information from the previous version, and a blue Ready to Upload Binary button. Review and edit the following sections, as needed.
Version Information
In this section, you only need to modify the Version field and maybe the Copyright field. For example; if this is the second version of your iOS app, enter 1.1 in the Version Number box.
Metadata and Uploads
Assuming you’ve already created new screenshots of your app screens, you must upload them using the Choose File buttons. All other fields, leave them as is. The image below shows what modifications I made for the iCarLocator app.

Contact Information
Assuming you’ve already created a new QuickTime video that showcase new features of your iOS app and uploaded it on your site, add the URL in the Review Notes field.

EULA (End User License Agreement)
Most likely you don’t have to edit this section.
![]() When you finish editing the iTunes Connect record, click the Ready to Upload Binary button. Answer questions shown on this page and click the continue button. If in doubt, answer no to all questions.
When you finish editing the iTunes Connect record, click the Ready to Upload Binary button. Answer questions shown on this page and click the continue button. If in doubt, answer no to all questions.

![]() Select when you want to release the new version of your app in the App Store by ticking one of the radio buttons you see on this page, then click the Save button.
Select when you want to release the new version of your app in the App Store by ticking one of the radio buttons you see on this page, then click the Save button.

The status of the iTunes Connect record will change to “Waiting for Upload”. That’s it, you are done updating the iTunes Connect record for the new version of your app. Later, you will archive and upload the app binary in Xcode.
Change the iOS app’s version number in Xcode
In Xcode, you have to change your app’s Version number to match iTunes Connect’s Version number. You have to change the Build version number to match iTunes Connect’s Version number as well.

By the way, your iOS app’s Bundle identifier must match iTunes Connect’s Bundle ID. If it doesn’t then change it in the app’s -Info.plist file.

If necessary, replace the app’s Launch images with the new ones you’ve created. Now, run the app on the iOS Simulator to make sure all is in order. If you get now errors or warnings, proceed to the next section.
Archive the application
What you have to do now is, archive the application in Xcode’s Organizer window.
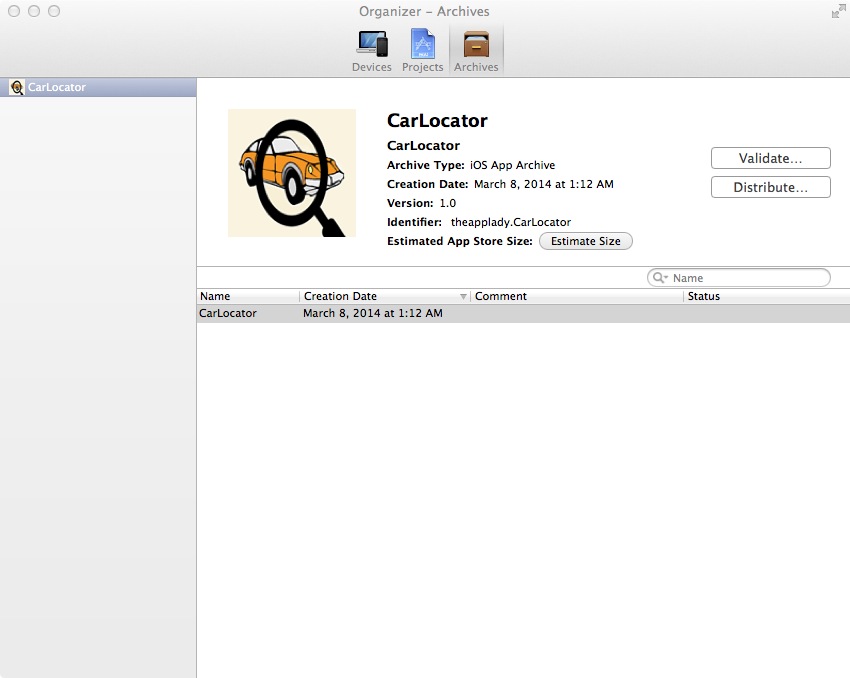
Select iOS Device from Xcode’s scheme. Next, select Product | Archive. Xcode goes to work to archive the application. Once the process is complete, the Organizer window will look like this:
Validate and submit the archive to the App Store
As you can see in above image of the Organizer window, there are two buttons. The Validate… button validates the archive. If issues are found, they are reported. You will have to fix them then archive the app again. You cannot proceed until the archive passes the validation test. The Distribute… button serves double duty; it validate the archive and submit it to the App Store.
Now that you know what the buttons are for, you are ready to validate and submit the archive to the App Store.
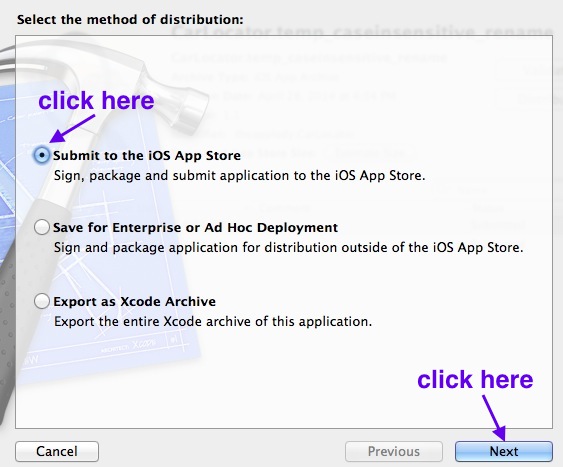
![]() Start by clicking the Organizer window’s Archives tab, and the Distribute… button. On this window, tick the Submit to the iOS App Store radio button, and click Next.
Start by clicking the Organizer window’s Archives tab, and the Distribute… button. On this window, tick the Submit to the iOS App Store radio button, and click Next.
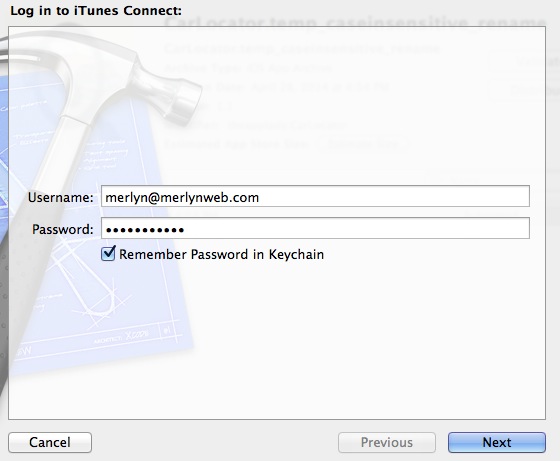
![]() Enter your iTunes Connect credentials, and click Next.
Enter your iTunes Connect credentials, and click Next.
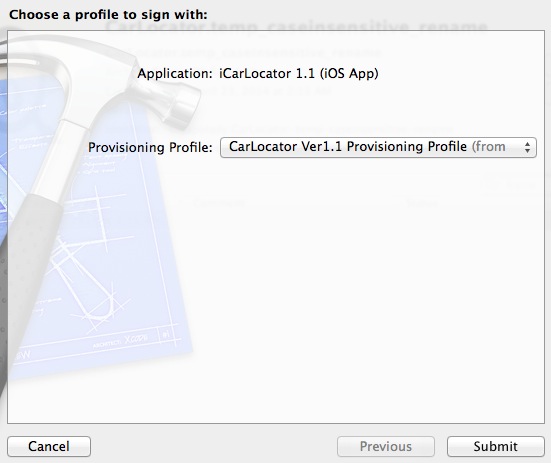
![]() Select the correct provisioning profile from the menu before clicking the Submit button.
Select the correct provisioning profile from the menu before clicking the Submit button.
![]() Xcode will validate the archive. If it found any issues, it will report them. Fix them and archive the application. Repeat this process until Xcode report no more issues. Once Xcode finish validating the archive (without issues), it will submit it to the App Store and display this window on your screen.
Xcode will validate the archive. If it found any issues, it will report them. Fix them and archive the application. Repeat this process until Xcode report no more issues. Once Xcode finish validating the archive (without issues), it will submit it to the App Store and display this window on your screen.
![]() Click the Finish button.
Click the Finish button.

That’s it you are done! All you have to do now is wait a week or so for an email from Apple, stating whether they approve or reject the new version of your iOS app. In iTunes Connect portal, the Status of the new version of your app will display “Waiting For Review”.
Summary
Today you executed these steps to submit a new version of your iOS app to the App Store.
Step 1: Update the iTunes Connect record
Step 2: Change the iOS app’s version number in Xcode
Step 3: Archive the application
Step 4: Validate and submit the archived to the App Store