
In part 3 of the “Publish a New App in The App Store”, you submitted your first iOS application to the App Store via Xcode’s Organizer window. Now you are waiting for a response from Apple. During that waiting period, read this final part of the the guide; it provide answers to these questions:
- what to do if Apple reject your iOS app?
- What to do if Apple approve your iOS app?
Apple rejected your iOS app, find out why in the Resolution Center
In the event your app is rejected, the email will direct you to iTunes Connect portal’s Resolution Center page, which explains why your app was rejected and how to fix the problem that caused your app to be rejected. Take a look at this snapshot to see what I mean.

Apple approved your iOS app, set its availability date
In the event your app was accepted, you’ll have to login to iTunes Connect portal and set the date you want your app to be available for download in the App Store. If you’ve already set the availability date when you originally created the iTunes Connect record for the app, do nothing
Here are the steps to set the availability date for your iOS app.
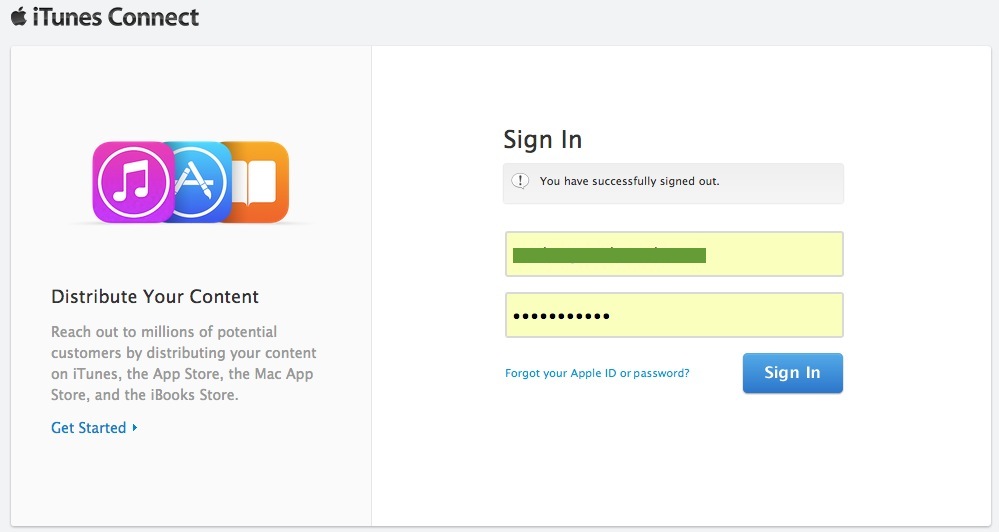
Sign in to iTunes Connect and select Manage Your Apps.
Select your app in the iOS App Recent Activity section.

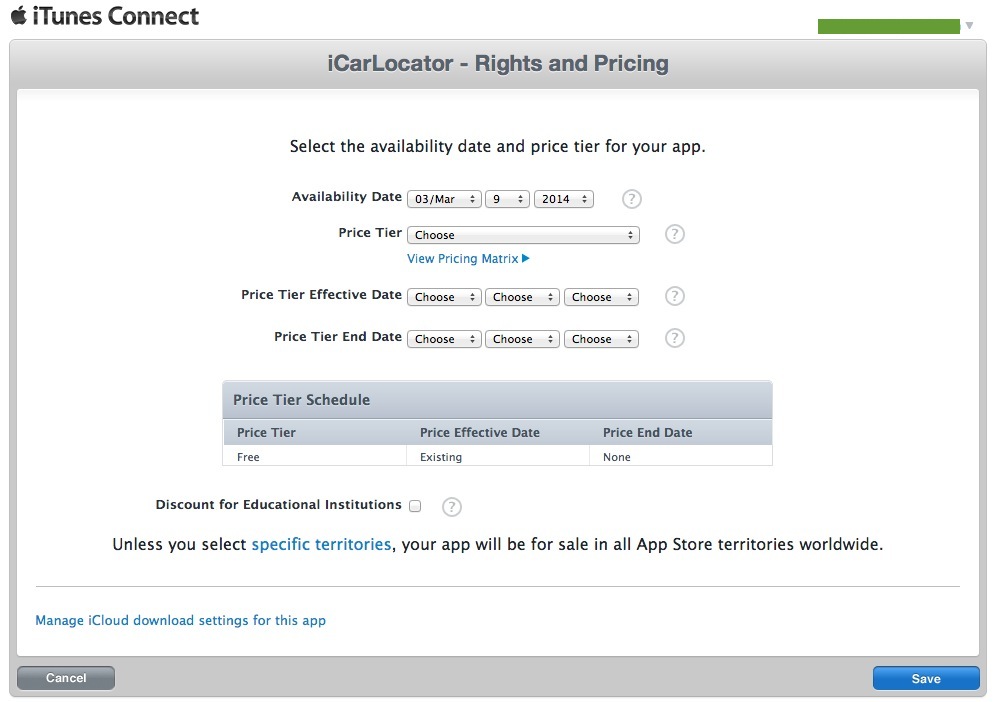
Click Rights and Pricing.

Choose a date from the Availability Date pop-up menus and click save.
This conclude the “Publish a New App in The App Store” tutorial series.