This is the third part of the “Publish a New App in The App Store” tutorial and in it you will create an iTunes Connect record, archive the app, and submit it to the App Store.
Create an iTunes Connect record
This is the first of three steps towards your goal of submitting your first app to the App Store. What you have to do is create an iTunes Connect record and upload screenshots of your app’s screen.
Now, before you begin, you’ll need:
✓ a name for the app as it will appear in the App Store – It must be unique. You can’t use the same name as another app on the App Store.
✓ a SKU number – It must be unique among your apps; it can include letters, numbers, hyphens, periods, and underscores.
✓ a Bundle ID – It must match the one you set up in your app’s Info.plist file.
✓ a description of your app – up to 4000 characters.
✓ an App Store Icon (1024×1024 or 512×512 png file) – this icon is displayed in iTunes and on the App Store. It’s a larger version of your App icon.
✓ screenshots – at least one screenshot for each device type that your app supports. iTunes Connect allow you to upload up to 5 screenshots for each device your app supports.
✓ a support URL – It should point to the web page you created for your app. Apple will create a text link called Developer Website for the URL. When you create the iTunes Connect record, you will enter the support URL in this box.
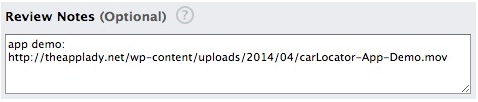
✓ an URL to a QuickTime video – it should point to the QuickTime video you’ve created and uploaded on your site. The video shows the reviewer of your app how it works.
I’ve listed only some of the information you’ll enter in the iTunes Connect forms. Further more, the process of creating the iTunes Connect record will take a while and you must complete it in one sitting, so make sure you are ready for the long haul.
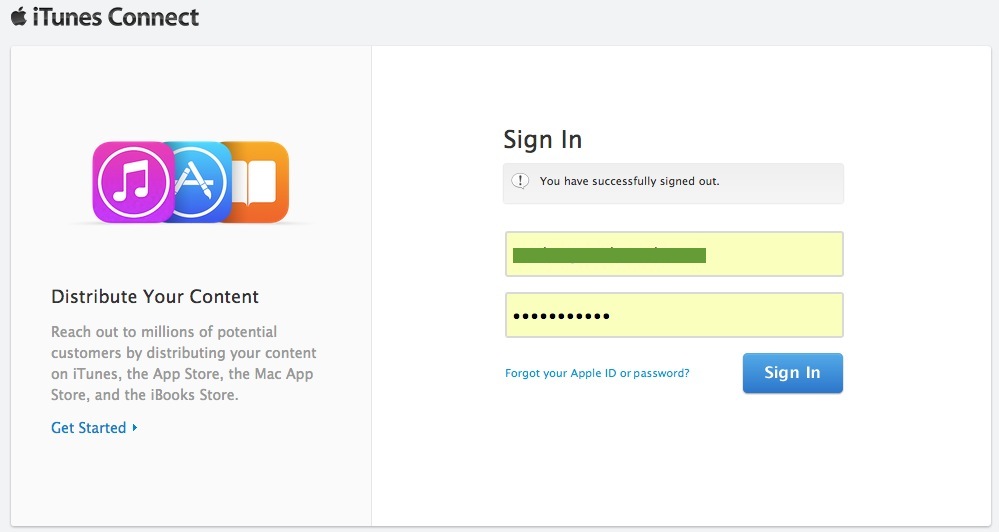
Now, sign in to iTunes Connect portal with your iOS Developer Apple ID and password.
On the iTunes Connect home page, click the Manage Your Apps link.
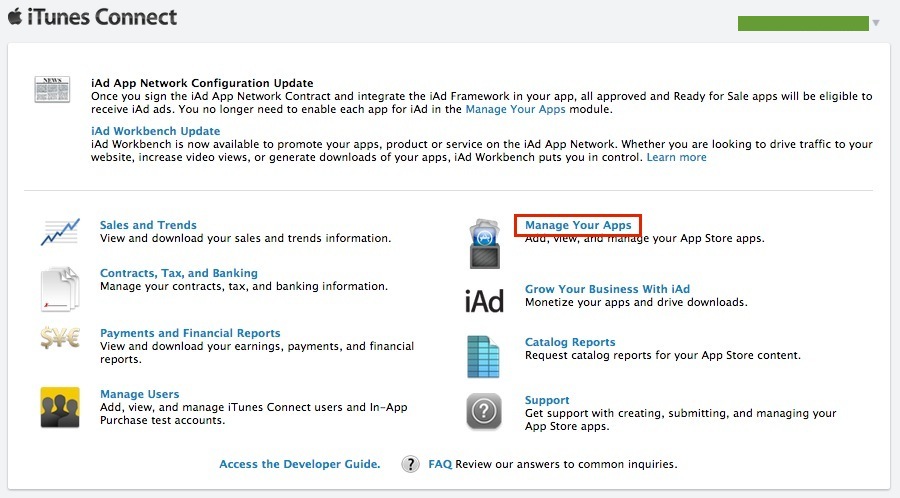
On the Manage Your Apps page, click this button:
![]()
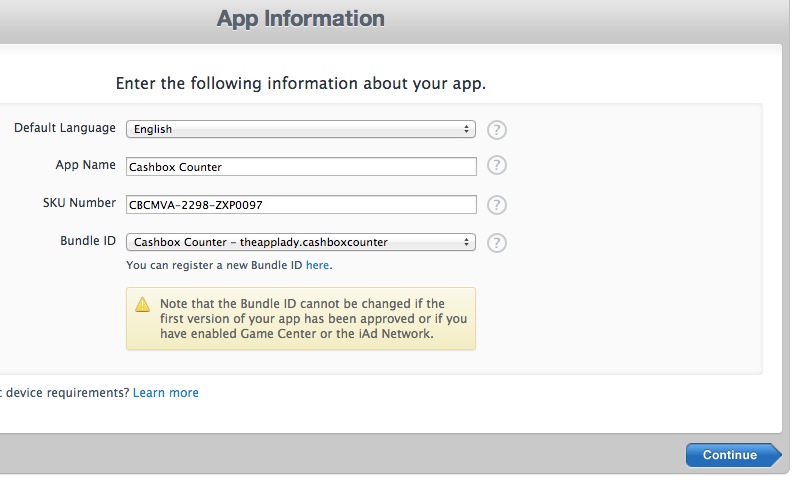
Here is the first form you have to fill in. Make sure you select the correct Bundle ID. It is the Explicit App ID you created in the Provision Portal.
Click the Continue button, you will see this form, assuming the name you entered in the App Name box is not taken. Set the Availability date to the latest date possible, you’ll change it later on. Select Free from the Price Tier drop down menu, and remove the checkmark from the “Discount for Educational Institutions” checkbox.
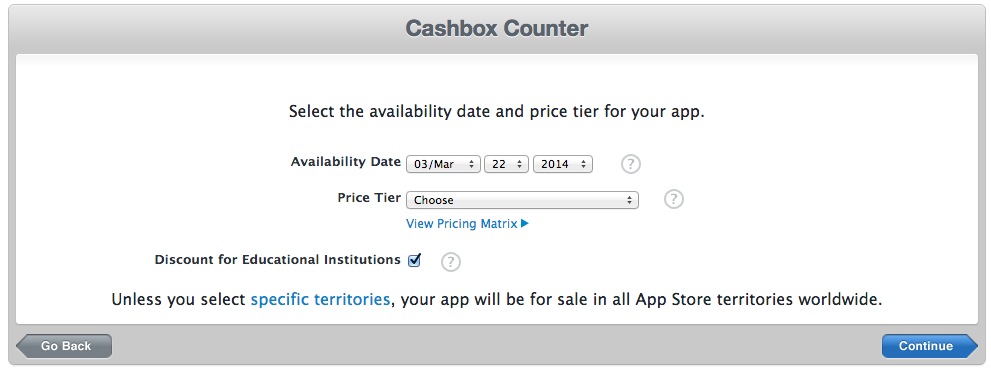
When you click the Continue button, you will be presented with yet another form to fill in. It is long, so I’ve broken it up into three parts as shown in Figure 1-3 below.
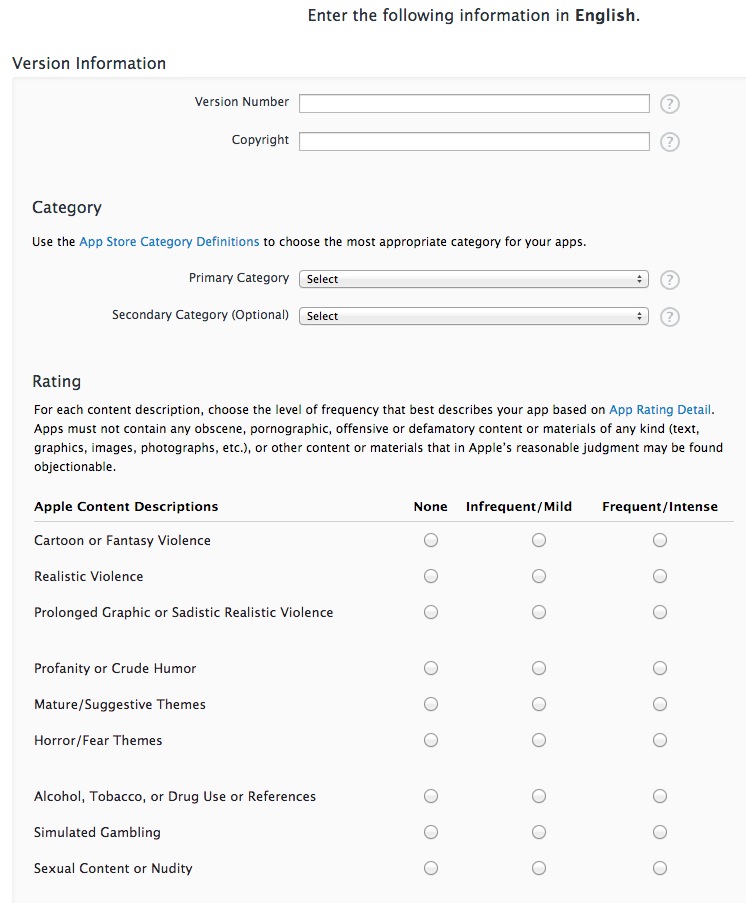 |
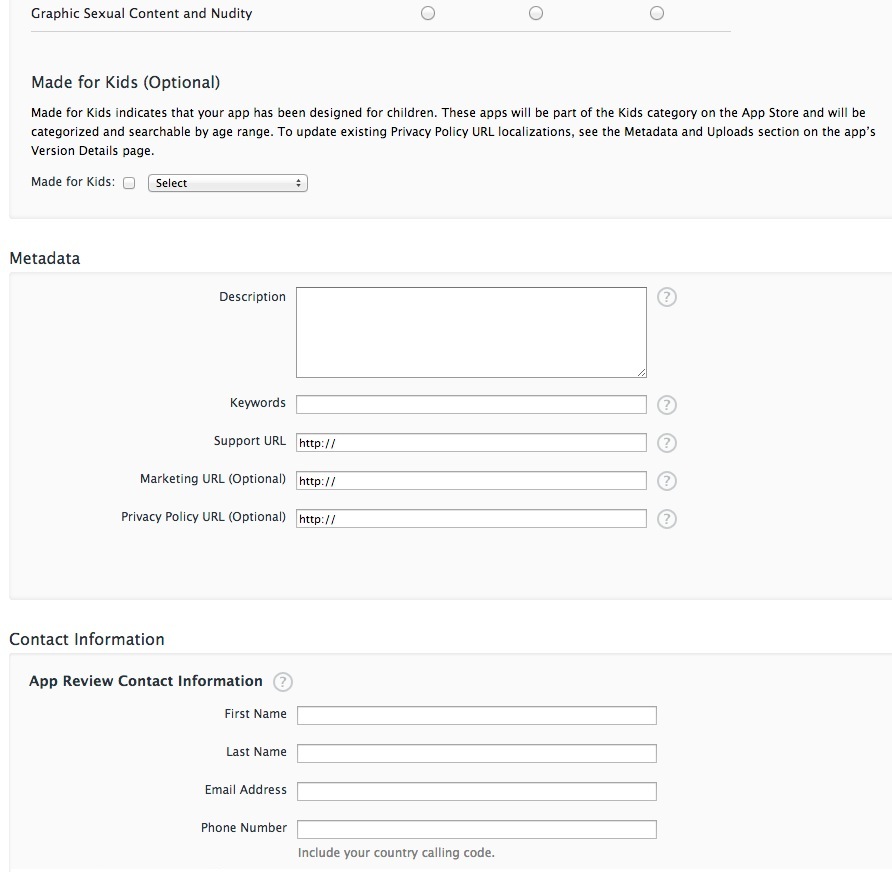 |
 |
| Figure 1 | Figure 2 | Figure 3 |
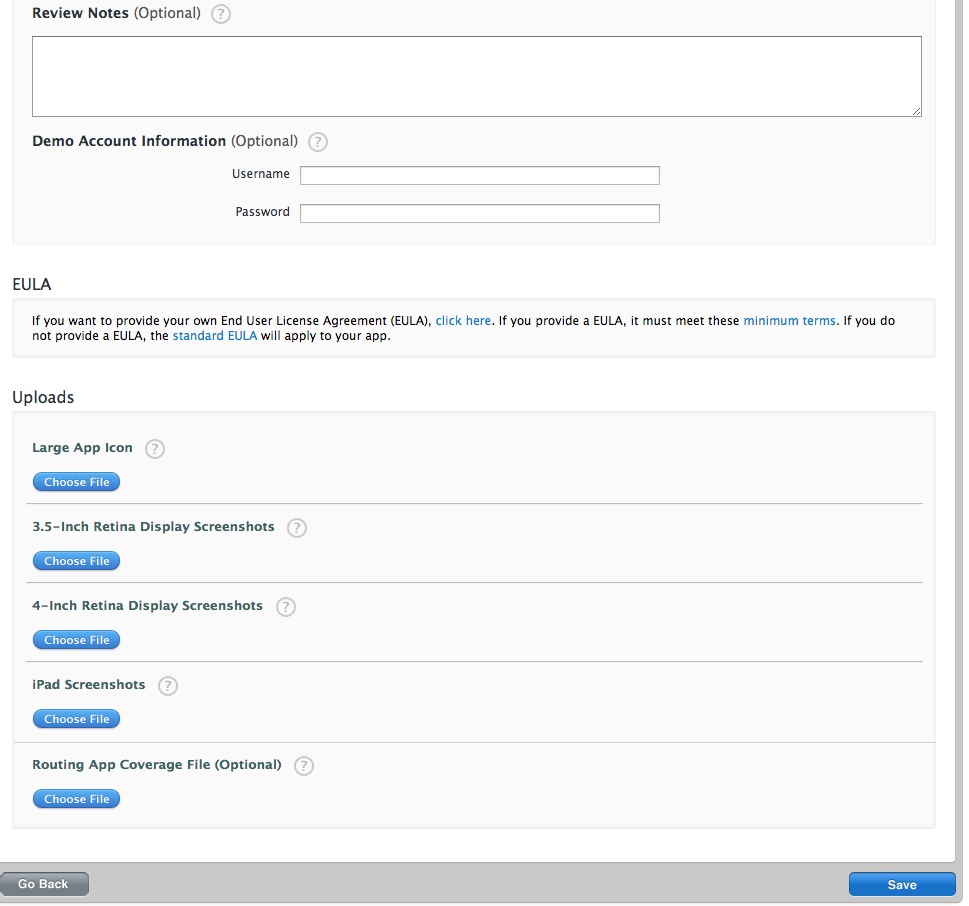
Fill in the form and use the Choose File buttons to upload your App Store icon and the screenshots you took of your app screens. After uploading a set of screenshot, feel free to reorder them the way you want them displayed in the App Store because you won’t be able to modify their order once you finish creating the iTunes Connect record.
Click Save. Once you see this page, click the View Details button below the app icon.
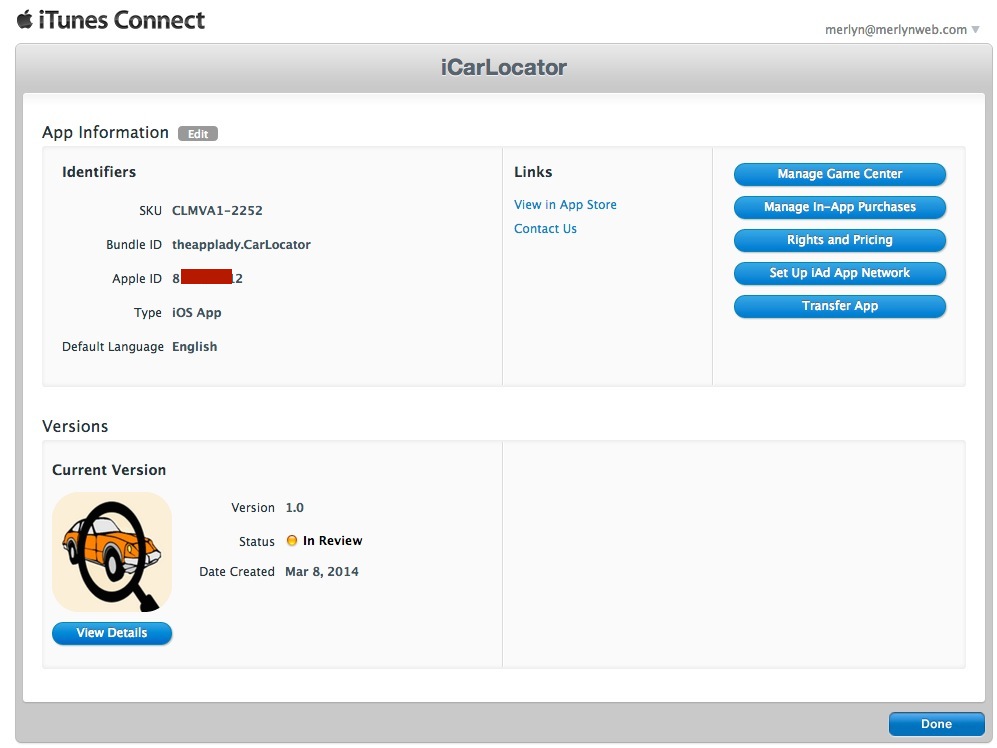
On the next page click the Ready to Upload Binary button, answer no to the question about cryptography, and click the Save button. The status of the application will now be listed as Waiting for Upload.
Archive the app
This is the second step towards your goal of submitting your first iOS application to the App Store and you do it in Xcode. What you have to do now is archive your iOS application by performing these steps:
- Launch Xcode.
- Connect your device to your Mac and select it from the Scheme.
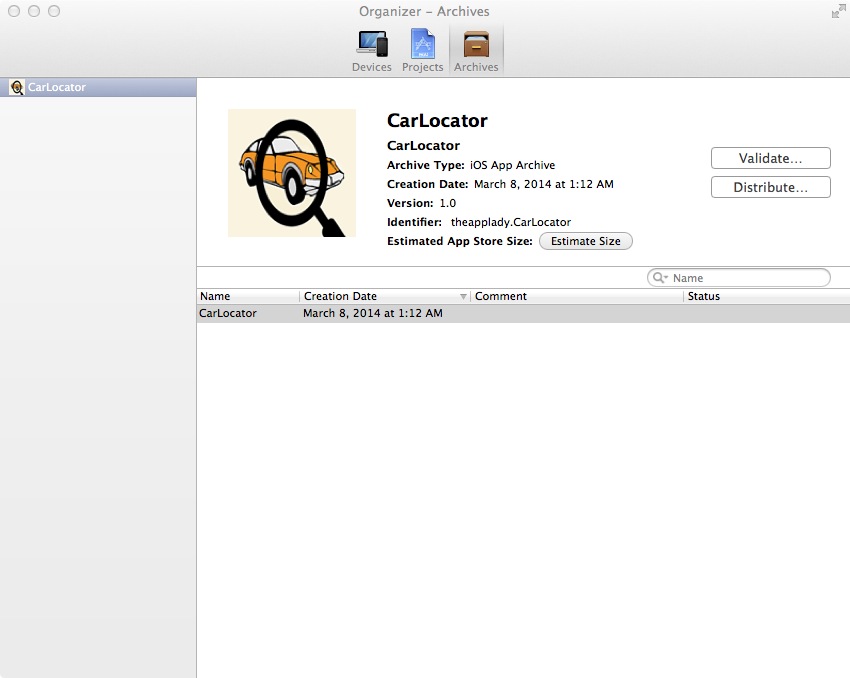
- Select Xcode Product | Archive menu option. Xcode goes work to archive your iOS application. Once the process is complete the archive will be displayed in the Organizer window ready for distribution.
Submit the archived to the App Store
This is the final step towards your goal of submitting your first iOS application to the App Store, and you do it in Xcode’s Organizer window. Before Xcode submit the archived application to the App Store, it will validate and report any errors.
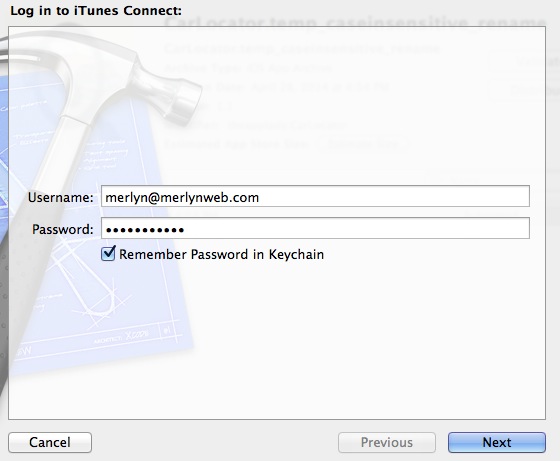
Make sure the Archive tab is still selected in Xcode’s Organizer window. Now, click the Distribute… button. Enter your iOS Developer program login credentials when prompted, and click Next.
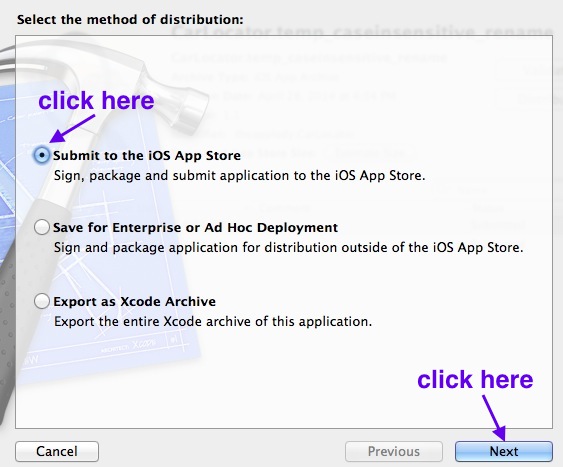
Tick the first radio button on this window and the Next button.
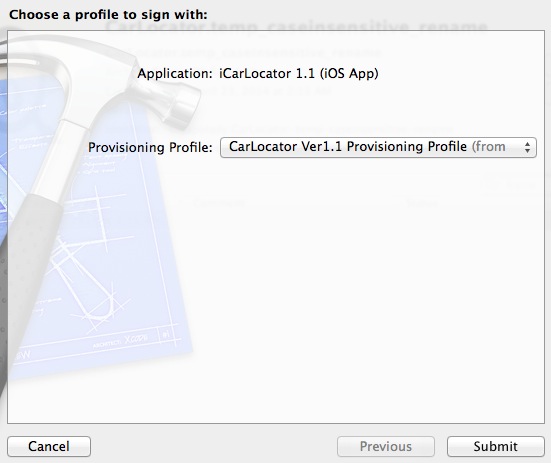
Select the Distribution Provisioning Profile for your app and click the Submit button.
Once Xcode finish validating and submitting the archived to Apple, you will see this window on your screen.

That’s it! You’ve successfully submitted your first iOS application to Apple. If you return to iTunes Connect, you will see your app status change from “Upload Received” to “Waiting For Review” later to “In Review”. Once the review is complete in about a week or so; Apple will send you an email stating whether they accepted or rejected your app for sale on the App Store.
 Now, proceed to the final part of the guide.
Leave a Reply
You must be logged in to post a comment.
No Responses